
How to Migrate an S3 Bucket to Another AWS Account💡
Learn the Fastest and Easiest Way to Move Your S3 Data Between AWS Accounts
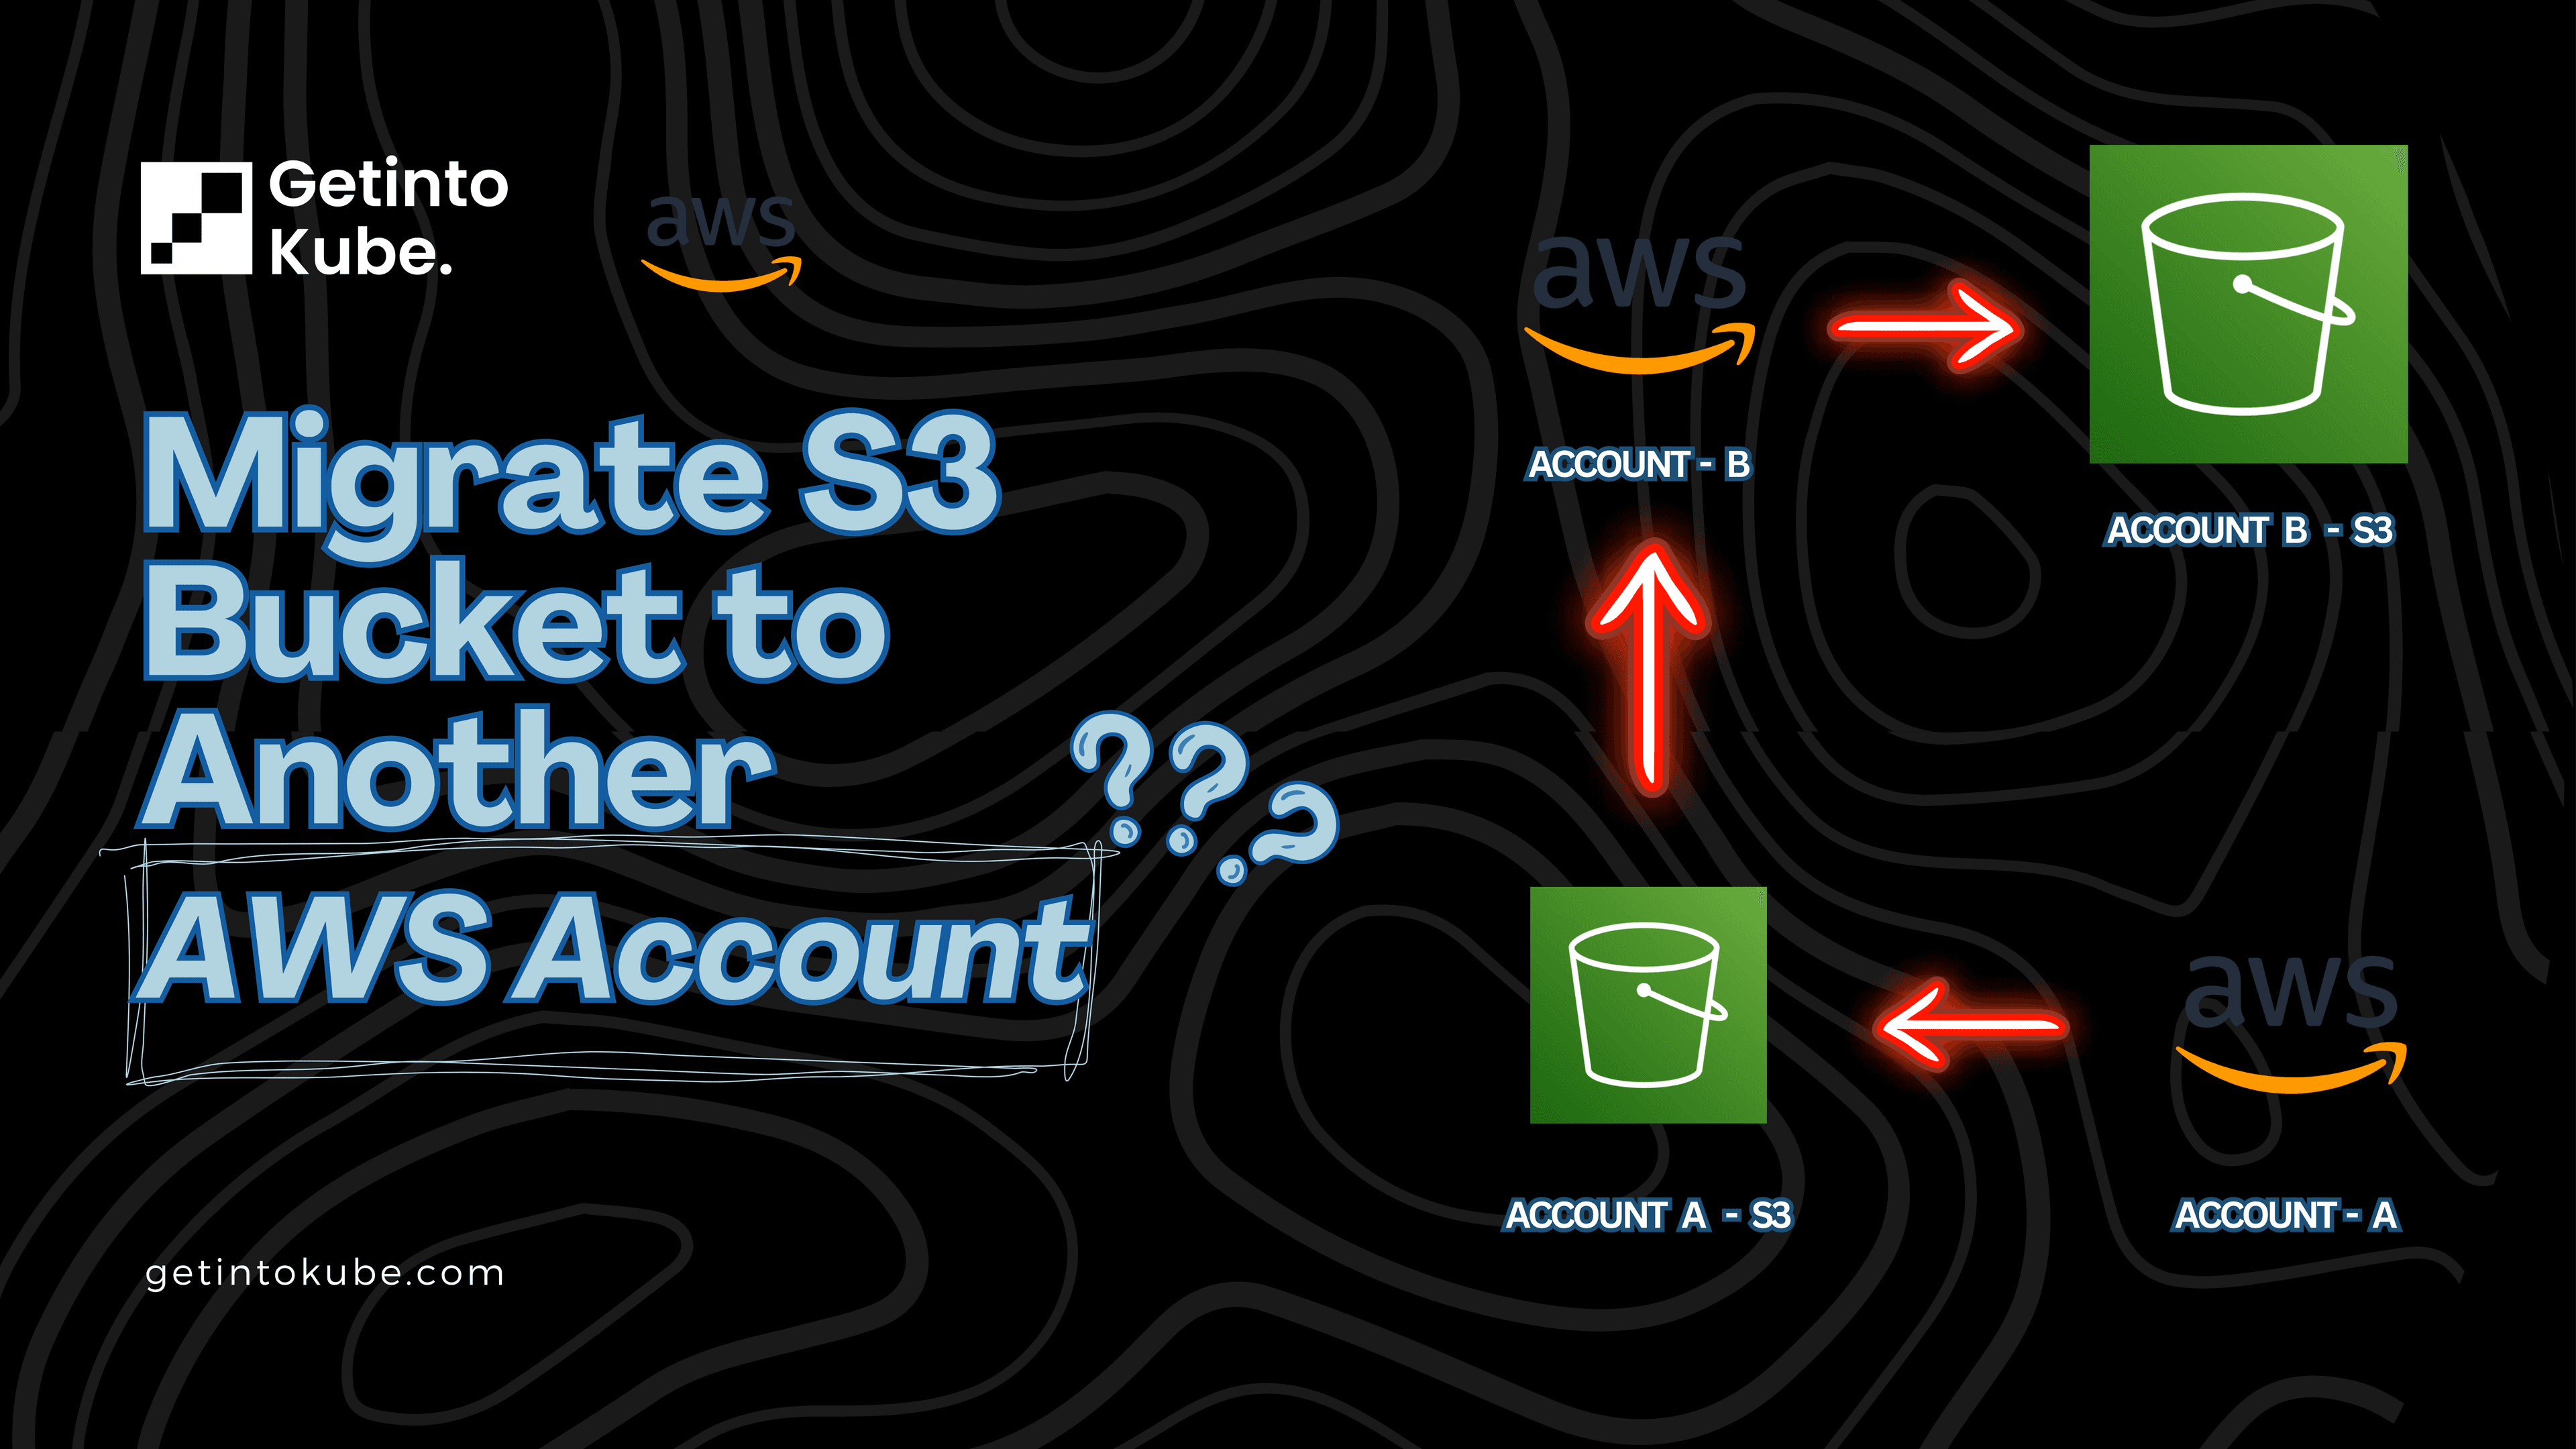
Need to move an S3 bucket to another AWS account? Whether you’re handing over data to a client, reorganizing resources, or consolidating accounts, this guide breaks it down into easy, actionable steps. No fluff, no jargon just a clear roadmap to get your S3 bucket migrated quickly and efficiently. Let’s dive in!
Step 1: Share the S3 Bucket with the Destination Account ⚙️
📌 AWS doesn’t let you “move” a bucket directly, but you can share it and copy its contents.
Here’s how:
Go to the S3 Console in the source account.
Select the bucket you want to migrate.
Click the Permissions tab

Add a bucket policy to grant access to the destination account by adding the below policy.
 {
   "Version": "2012-10-17",
   "Statement": [
     {
       "Effect": "Allow",
       "Principal": {
         "AWS": "arn:aws:iam::DESTINATION_ACCOUNT_ID:root"
       },
       "Action": [
         "s3:ListBucket",
         "s3:GetObject"
       ],
       "Resource": [
         "arn:aws:s3:::SOURCE_BUCKET_NAME",
         "arn:aws:s3:::SOURCE_BUCKET_NAME/*"
       ]
     }
   ]
 }
Replace
DESTINATION_ACCOUNT_IDandSOURCE_BUCKET_NAMEwith your details.
Save the policy. Now, the destination account can access the bucket.
Step 2: Copy the Bucket Contents to the Destination Account ☕🗺️
Once shared, copy the data to a new bucket in the destination account.
Log in to the destination account and create a new bucket.
Use the AWS CLI to copy the files: (Use destination account credentials)
aws s3 sync s3://SOURCE_BUCKET_NAME s3://DESTINATION_BUCKET_NAMEExpected Output:

Step 3: Verify the Data ✅
After copying, check the data in the destination bucket:
Confirm the file count and size match the source.
Open a few files to ensure they’re intact.
If the bucket has versioning, verify all versions were copied.

Pro Tips: 🚀
Use AWS Datasync for large buckets to speed up transfers.
Enable versioning in the destination bucket if the source has it.
Test the process with a small bucket before migrating critical data.
Conclusion: 🎃
Migrating an S3 bucket to another AWS account is simple when you know the steps. Share the bucket, copy the data, verify, and done! Follow this guide, and you’ll have your S3 bucket migrated in no time.
📬Found this guide helpful? Share it with your team or drop a comment below with your questions. For more AWS tips, subscribe and stay tuned!
#getintokube #getintokubeblogs